
Self-leveling epoxies are floor coatings formed by mixing epoxy resin, a polyamine hardener, and quartz sand.
The result…
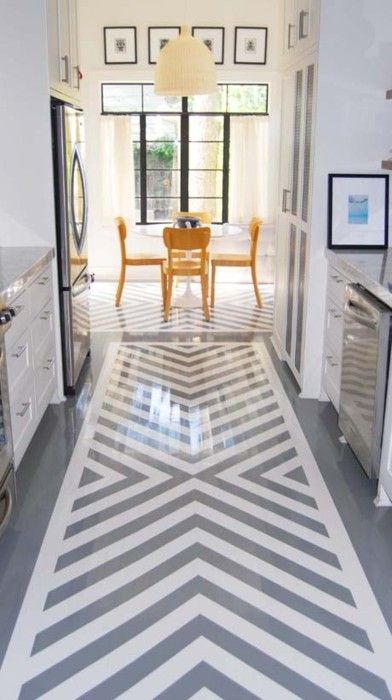
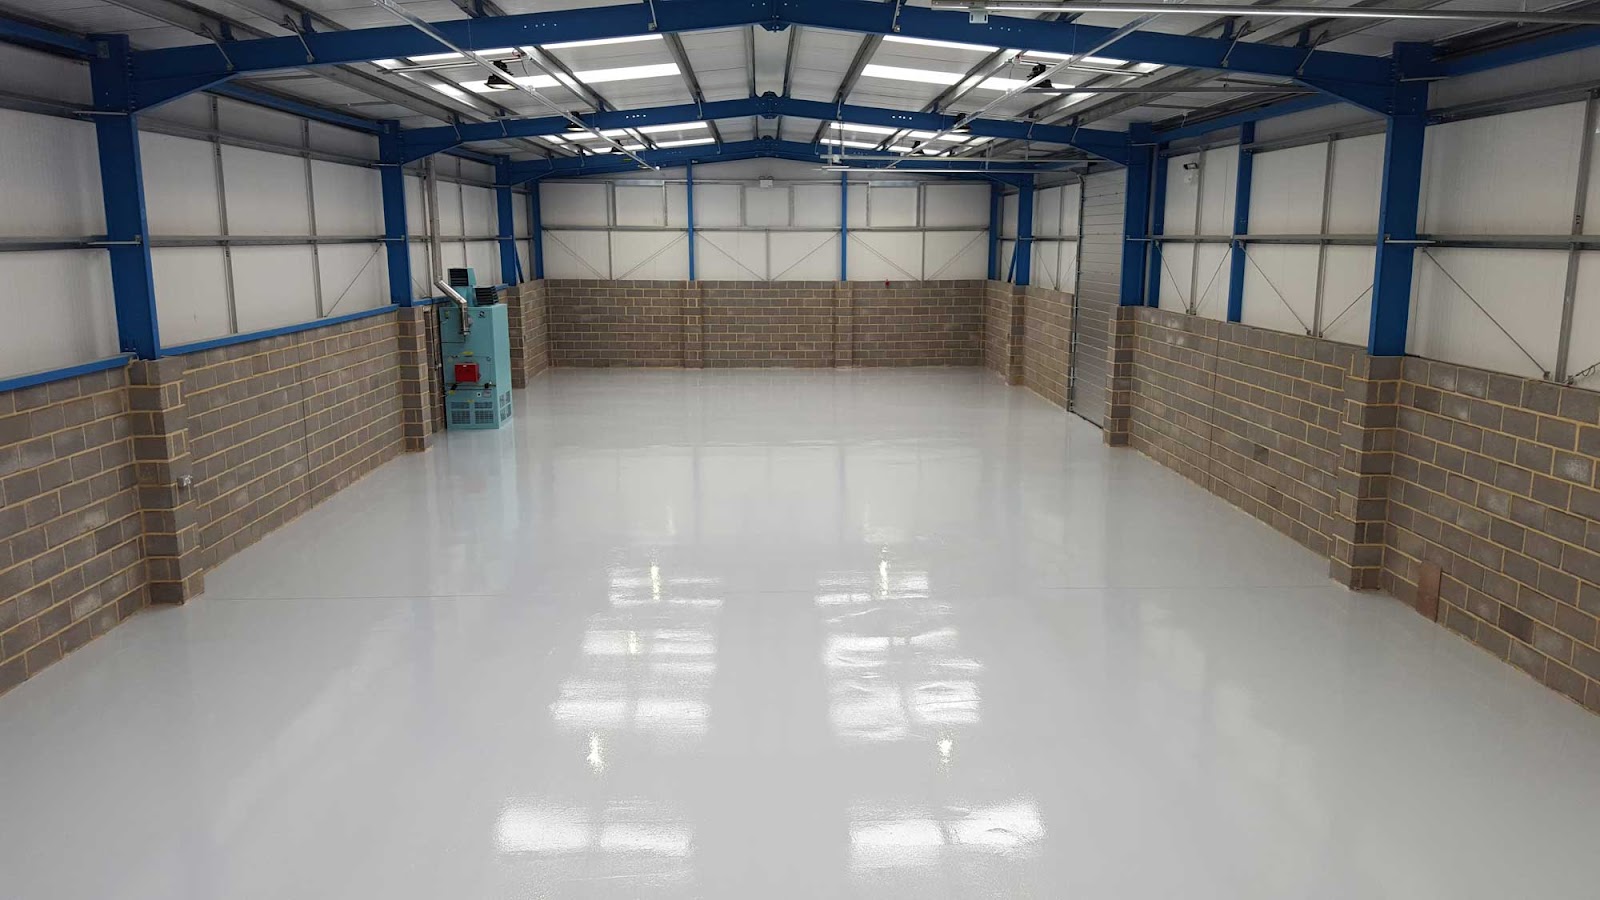
Flooring with a durable finish that also catches the eye with its shiny surface and colors.
This self-leveling epoxy coating can be used in a wide variety of applications. They can be applied on tabletops, countertops, concrete floors, tile, wood, and other flooring types in industrial, residential, and commercial settings.
However, today, we’ll be discussing how to apply a self-leveling epoxy flooring system to give our old (or new) floors a facelift.
How to Apply Self-leveling Epoxy Flooring: Step by Step Guide
1. Dry your concrete flooring surface
Before you can apply self-leveling epoxy flooring on your concrete floor, you first have to dry the surface of every moisture, grease. Make sure there are no loose particles and dust.
2. Prepare your concrete floors
This stage is, particularly for old concrete floors. You can prepare the concrete surface by grinding with a grinder; milling; grouting; sandblasting, etc. This is to get all the grime and dirt out and level your floor.
Plus it also opens up the pores to allow the primer to penetrate the floor while providing better anchoring for the epoxy floor coating.
3. Vacuum the floor
After you complete the grinding of the surface, use your vacuum cleaner to clean the flooring and make sure there’s no dust or dirt left on it.
You need to be thorough with this stage because, in the next step, we’ll be applying our primer.
4. Apply your epoxy primer
Next up is the application of our epoxy primer. A water-based primer presents a good choice because it doesn’t smell so bad. We prime floors for a couple of reasons;
- To promote better adhesion of the self-leveling epoxy coating to the substrate.
- It also helps seal the floor to make it non-porous.
You can use rollers to apply the epoxy primer. Just do it with pressure so you can feel the primer penetrating the floor.
Depending on the need the experience and performance you desire of your flooring, another layer may be needed.
5. Patch the cracks on your flooring
Another thing the epoxy primer does is make the cracks on concrete floors more visible.
When your primer is dry and you find that your floors have got cracks, you should patch them to ensure your flooring is level.
6. Apply a base coat to seal the concrete
So we’ll apply our base coat to make sure our flooring is well sealed and that there are no bubbles. Also, sprinkle some quartz sand to enhance better bonding before applying the topcoat.
7. Vacuum the flooring again
Get rid of every dirt and dust that the other steps of this project may have produced. If you skip this stage, these nuisances will show up on your self-leveling epoxy flooring.
8. Prepare your self-leveling epoxy
Now, we’ll mix the whole of component B (hardener) with component A (epoxy) in a bucket. Afterward, add some quartz sand and stir the mixture for about 3 minutes with a low-revolution mixer.
Avoid general sand as it contains many particles that contain moisture.
The quartz makes the epoxy coating thicker, more viscous, and improves its resistance.
9. Apply the mixed products with a notched epoxy spreader
Then pour your self-leveling epoxy coating on the edges of your substrate where it meets the wall and slowly spread with a notched trowel. A notched trowel ensures the thickness is evenly spread throughout the flooring.
And if you’re wondering how thick you can pour epoxy floor; a thickness of 2.5 mm is perfect! Simply use a 5 mm notched trowel, and it’ll give you a 2.5-mm thick epoxy flooring.
There, you’ve got your self-leveling epoxy flooring, but there’s one more thing.
10. Remove bubbles with spiked rollers
Finally, it’s common for self-leveling epoxy flooring to have bubbles. So finish off your epoxy flooring by using a spiked roller to get rid of them.
So you see, high-gloss epoxy floors are not difficult to install. And their applications come with a lot of benefits.
Benefits of Self-leveling Epoxy Flooring System
1. Appearance
Compared to roller-applied epoxies, self-leveling epoxy flooring presents a smoother finish with many colorful applications. And because of its thickness, this flooring solution may hide imperfections on your flooring.
And the additives and various colors can create a stunning and high-gloss that’ll enhance the appeal of your work or residential space.
2. Durability
Self-leveling epoxy coatings are strong enough to resist wear and tear from exposure to heavy foot traffic and large machinery.
Their thickness ensures they’re a wise long-term flooring solution.
3. Ease of maintenance
Self-leveling epoxy flooring is easy to clean and maintain. And you won’t have to spend so much on buying cleaning products.
These are some of the reasons it’s favored in the food and pharmaceutical industries. You can even get a self-leveling epoxy floor coating with antimicrobial agents.
4. Slip resistance
Despite the shiny appearance of self-leveling epoxy floor coating, they’re safe to walk on when wet. Their slip resistance makes them good flooring options in cafeterias and places with high exposure to water and liquid spills.
5. Chemical resistance
Self-leveling epoxy flooring is resistant to most chemical spills; including caustic chemicals in labs and pharmaceutical facilities.
They’re also resistant to damage, and exposure to UV radiation won’t fade their colors.


